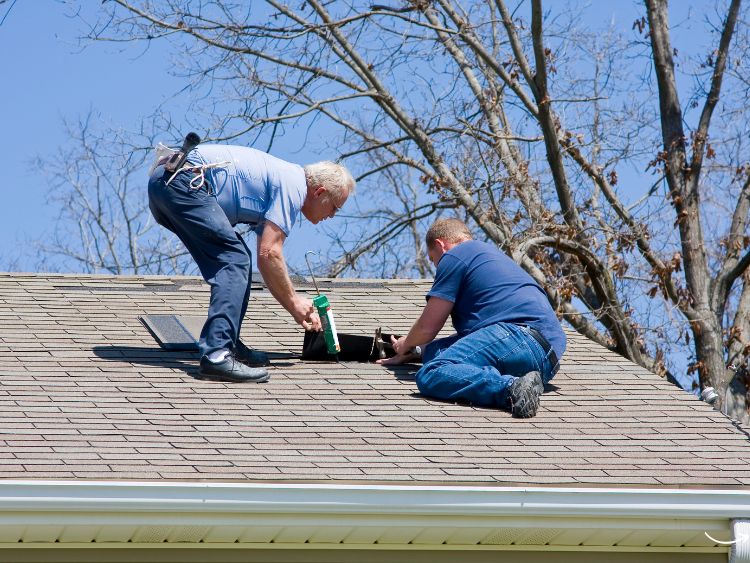
Picture this: you’re ready to hit the road in your recreational vehicle (RV), only to find that the roof needs urgent repair. It’s not just about shelter; it’s about ensuring your home-on-wheels remains in top-notch condition. This article dives deep into the world of recreational vehicle roof repair, offering you expert advice and practical tips to keep your RV roof robust and leak-free.
Understanding the Importance of RV Roof Maintenance
Before you climb up with your toolbox, it’s crucial to grasp why maintaining your RV roof is non-negotiable. The roof of your RV is its first line of defense against the elements. Regular checks and timely repairs can prevent costly damages and extend the lifespan of your mobile abode.
Signs Your RV Roof Needs Attention
Let’s look at some tell-tale signs that your RV roof might need some TLC:
- Water stains on the ceiling
- Bubbling or peeling interior panels
- Cracks or splits in the roof material
- Sagging or pooling of water on the roof
Choosing the Right Materials for the Job
When it comes to materials, not all are created equal. Here’s what you need to know to make informed choices:
Types of RV Roofing Materials
- Rubber (EPDM or TPO): Most common, affordable, and easy to repair.
- Fiberglass: Durable and sleek but can be pricey and tricky to repair.
- Aluminum: Less common, sturdy, but prone to denting.
Tools You’ll Need
Arm yourself with the following tools to ensure a smooth repair process:
- Sealant suitable for your roof type
- Caulking gun
- Utility knife
- Soft bristle brush
- Rubber gloves
- Safety goggles
Step-by-Step Guide to Repairing Your RV Roof
Now, let’s get down to brass tacks with a straightforward repair guide.
Cleaning the Roof
- Remove Debris: Start by sweeping off leaves, twigs, and other debris.
- Clean the Surface: Use a mild soap and a soft bristle brush to thoroughly clean the roof. Rinse well and let it dry completely.
Inspecting for Damage
- Check for Cracks and Holes: Walk carefully on the roof, looking for any visible signs of damage.
- Inspect the Sealant: Look for any cracked or worn sealant around vents and AC units.
Making Repairs
- Reapply Sealant: Use the caulking gun to apply new sealant to any gaps or cracks.
- Patch Holes: For larger issues, apply a patch of similar roofing material, adhering it with a strong sealant.
Preventative Measures to Avoid Future Damage
- Regular Inspections: Check your roof at least twice a year and after any severe weather.
- Immediate Action: Address small issues before they become big problems.
- Proper Cleaning: Keep the roof clean from debris and harsh chemicals.
FAQs on Recreational Vehicle Roof Repair
What is the best sealant for an RV roof?
The best sealant depends on your roof type. For rubber roofs, a rubber-specific sealant is ideal. Silicone sealants work well for fiberglass or aluminum roofs.
How often should I inspect my RV roof?
Inspect your roof at least bi-annually and after significant trips or severe weather events.
Can I perform RV roof repairs myself?
Absolutely! With the right tools and materials, basic repairs are a doable weekend project.
Conclusion
Repairing your RV roof might seem daunting, but it’s a crucial part of RV maintenance that can prevent more significant issues down the road. With the right approach, materials, and a bit of elbow grease, you can ensure your RV continues to provide comfort and protection, no matter where your adventures take you.
This guide not only equips you with the knowledge for effective recreational vehicle roof repair but also encourages you to keep your RV in prime condition. Remember, the roof over your head is what makes your RV a safe haven from the storms, literally and metaphorically! So, why not give it the attention it deserves?
